
I always wanted to build a Dinosaur and with the upcoming Makerfaire there is no excuse for me to not get my hands dirty to fulfill this childhood dream of mine. Also, I have taken the opportunity to give my blog a name after my friend Dan from awesome.tech suggested to use a keyword in the blog to make it more accessible for people to find it through internet searches.
Being fascinated by my K40 laser, I found “The Kerf” very appropriate and it plays a critical role when cutting and assembling the Dinosaur puzzle.
Kerf equals Width
Kerf is defined as the width of material that is removed by a cutting process. If you don’t take this width into account when cutting then your wooden pieces won’t fit nicely together, leaving you with a bad result. The additional complexity of this comes with using the laser. If you cut on high power the kerf with be bigger than on low power. I empirically found out that my K40 produces a kerf of about 0.15mm around the 8 mA power cutting setting. You might need a few more passes to get it cut but I’m fine with this since I have less sooth and burn marks on the final product.
Anyway, let’s cut to the chase and start with the Dino build. I searched the internet for days to find a Dino pattern and finally managedto find someting easy. There are two routes to achieve this build, via a vector/dxf CAD file and a jpeg/png picture. Initially I did only find pictures which require me to trace the picture through the trace bitmap feature in Inkscape or trace it by hand using Inkscape’s pencil tool. The existing trace bitmap draws two lines around the line instead of one on top of the existing picture. I tried another inkscape plugin that traces just the center of a line and it works but the trace is sloppy and not well aligned which means lots of manually touching up. Basically, it leaves you with only two options, vector or manual until a better bitmap tracing tool becomes available. Unfortunately, I don’t have illustrator or CorelDraw and you might find here a better embedded tool. Today I tried my luck and found a dxf vector file of a ferocious looking Dino on instructables.com see http://www.instructables.com/id/T-Rex-Dinosaur-Puzzle-with-different-sizes-and-pos/
The next steps are easy, import the dxf vector file and scale it to align it with the canvas size (about A4 size for my K40). Next step is to draw a box around the drawing to get rid of the extra space surrounding the drawing. Select both the box you just draw and the entire picture. Select Object, clip, set and you have cropped the drawing.
Next step is to select the ‘generate laser files’ plugin from the extensions menu (from J-tech photonics, see my previous blog about the plug in). This generates the gcode file which we send to the laser via the gcode sender CNC cheton.
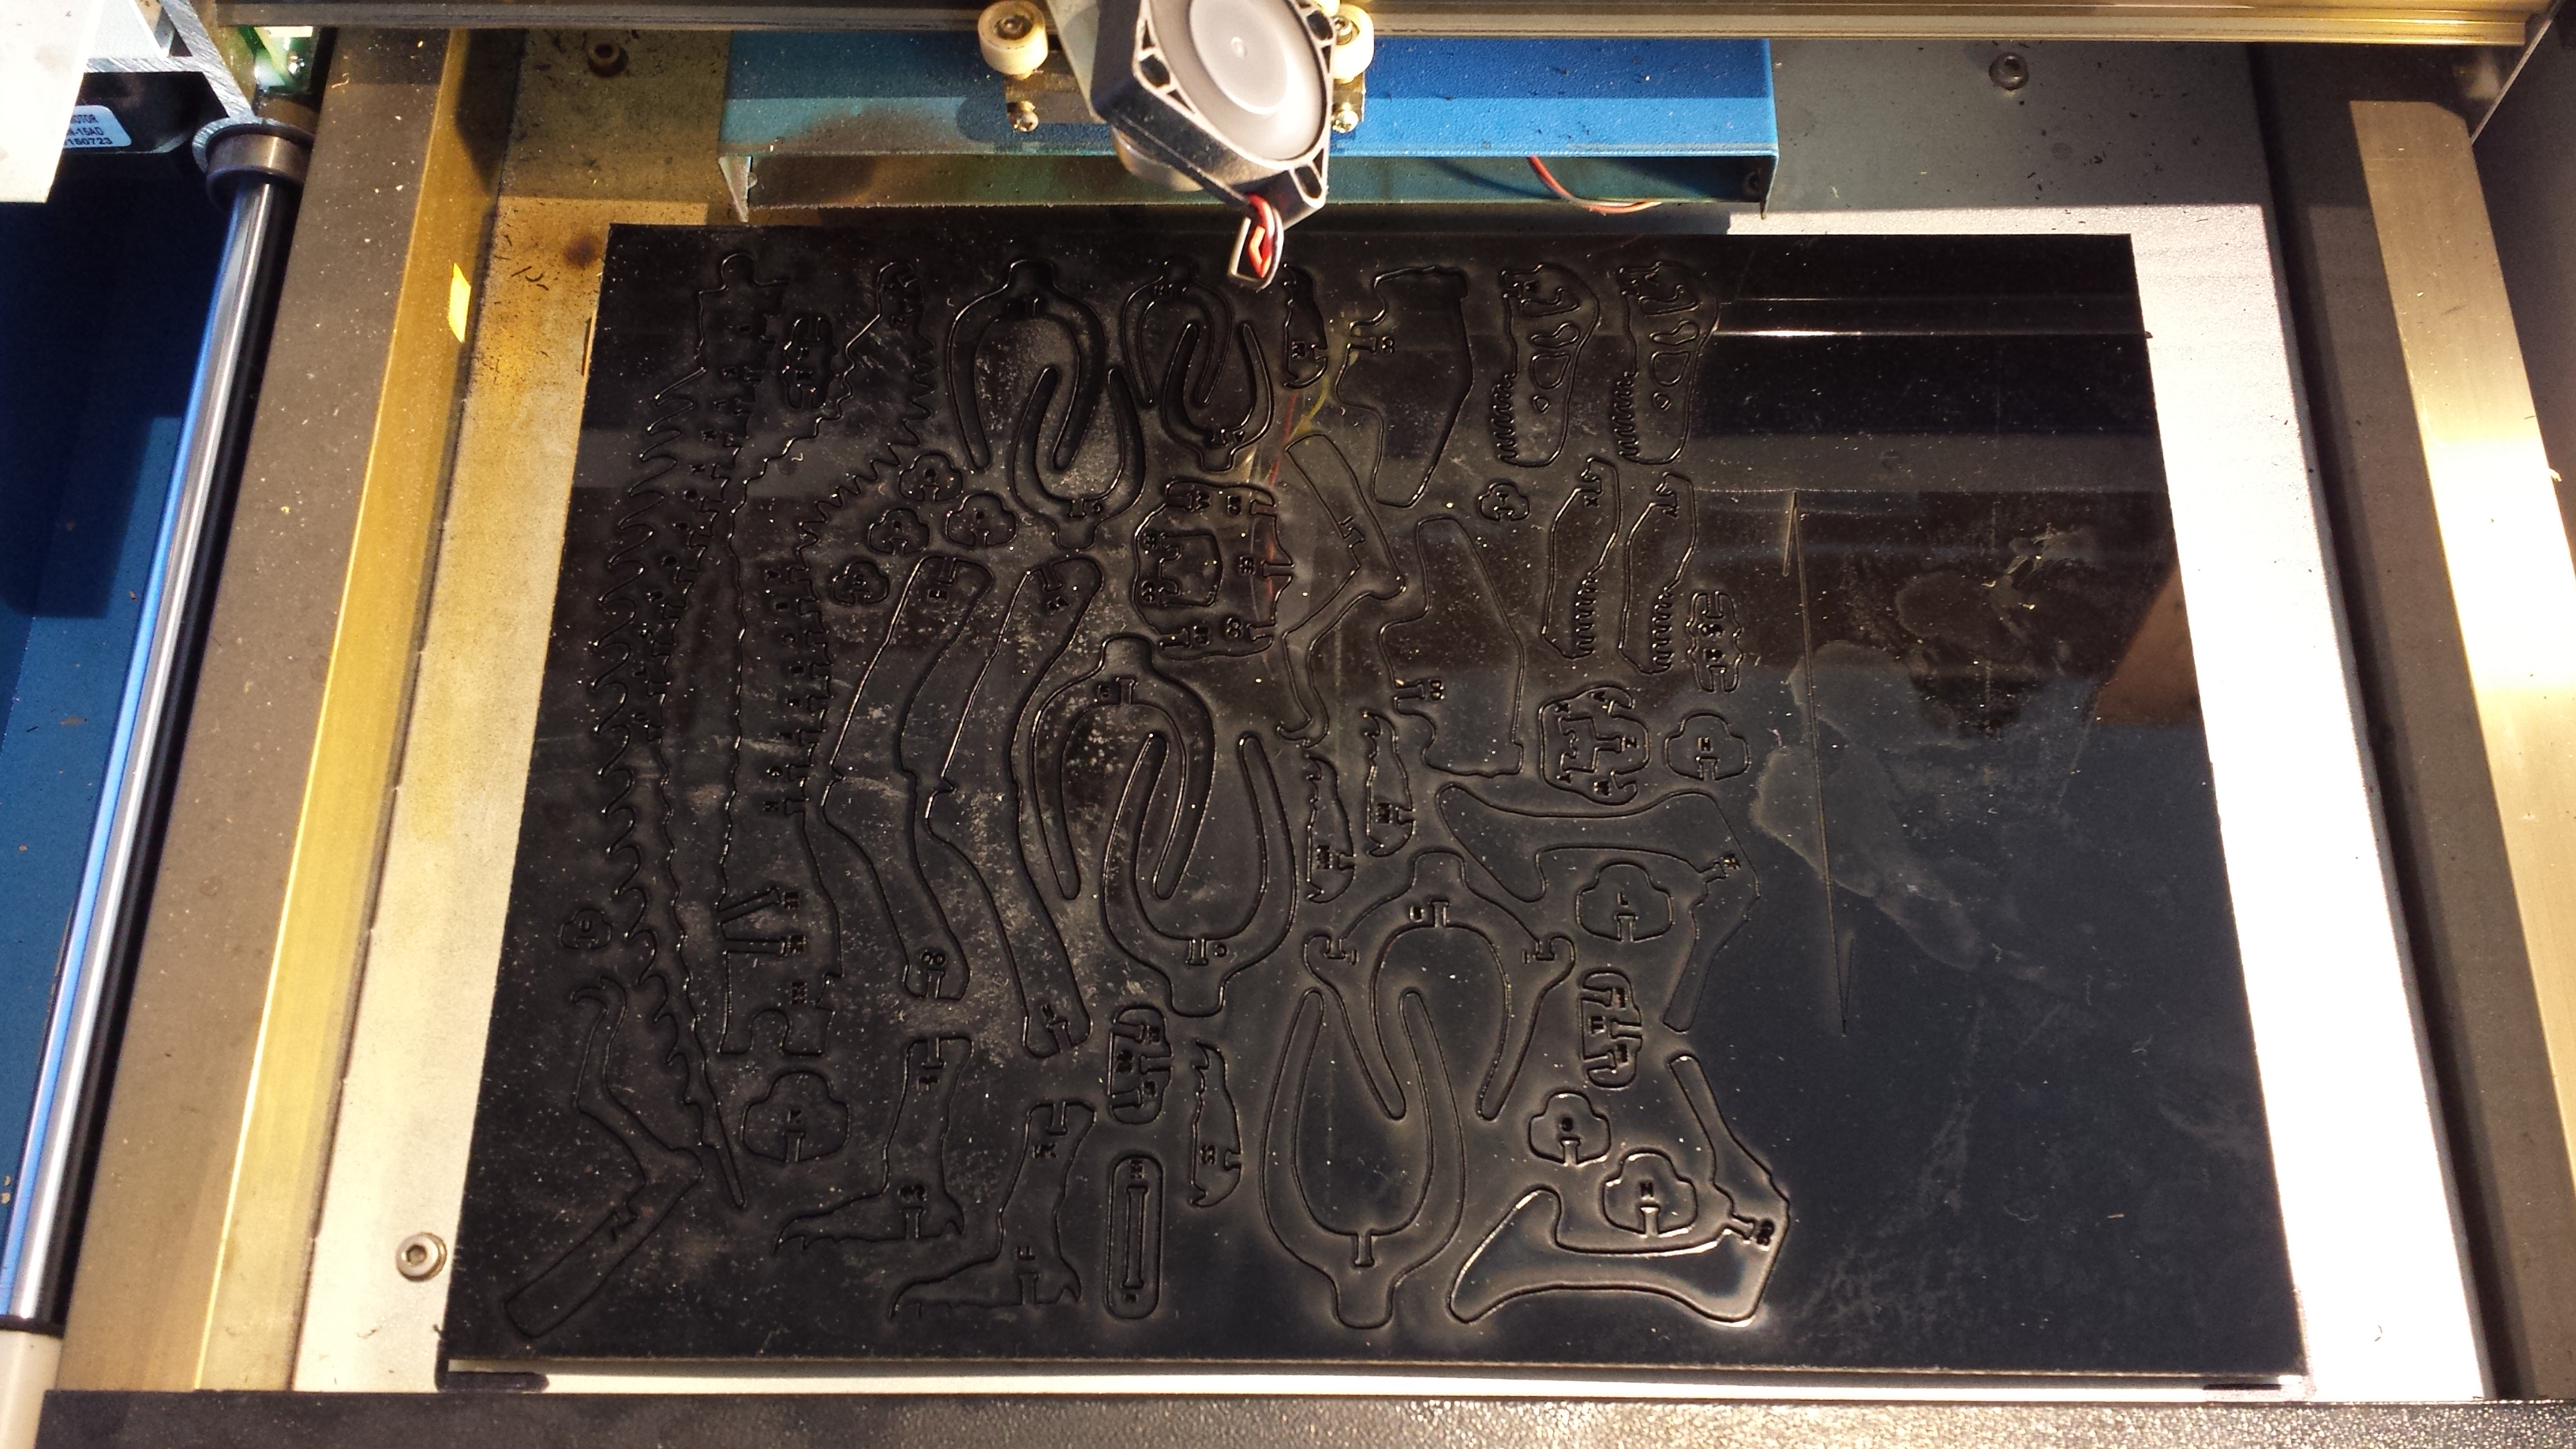
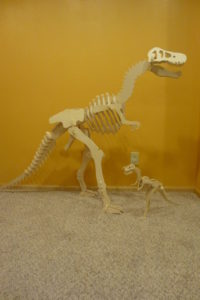
Collect the cut out parts, clean them with soap and water and assemble it with glue by following the part numbers.
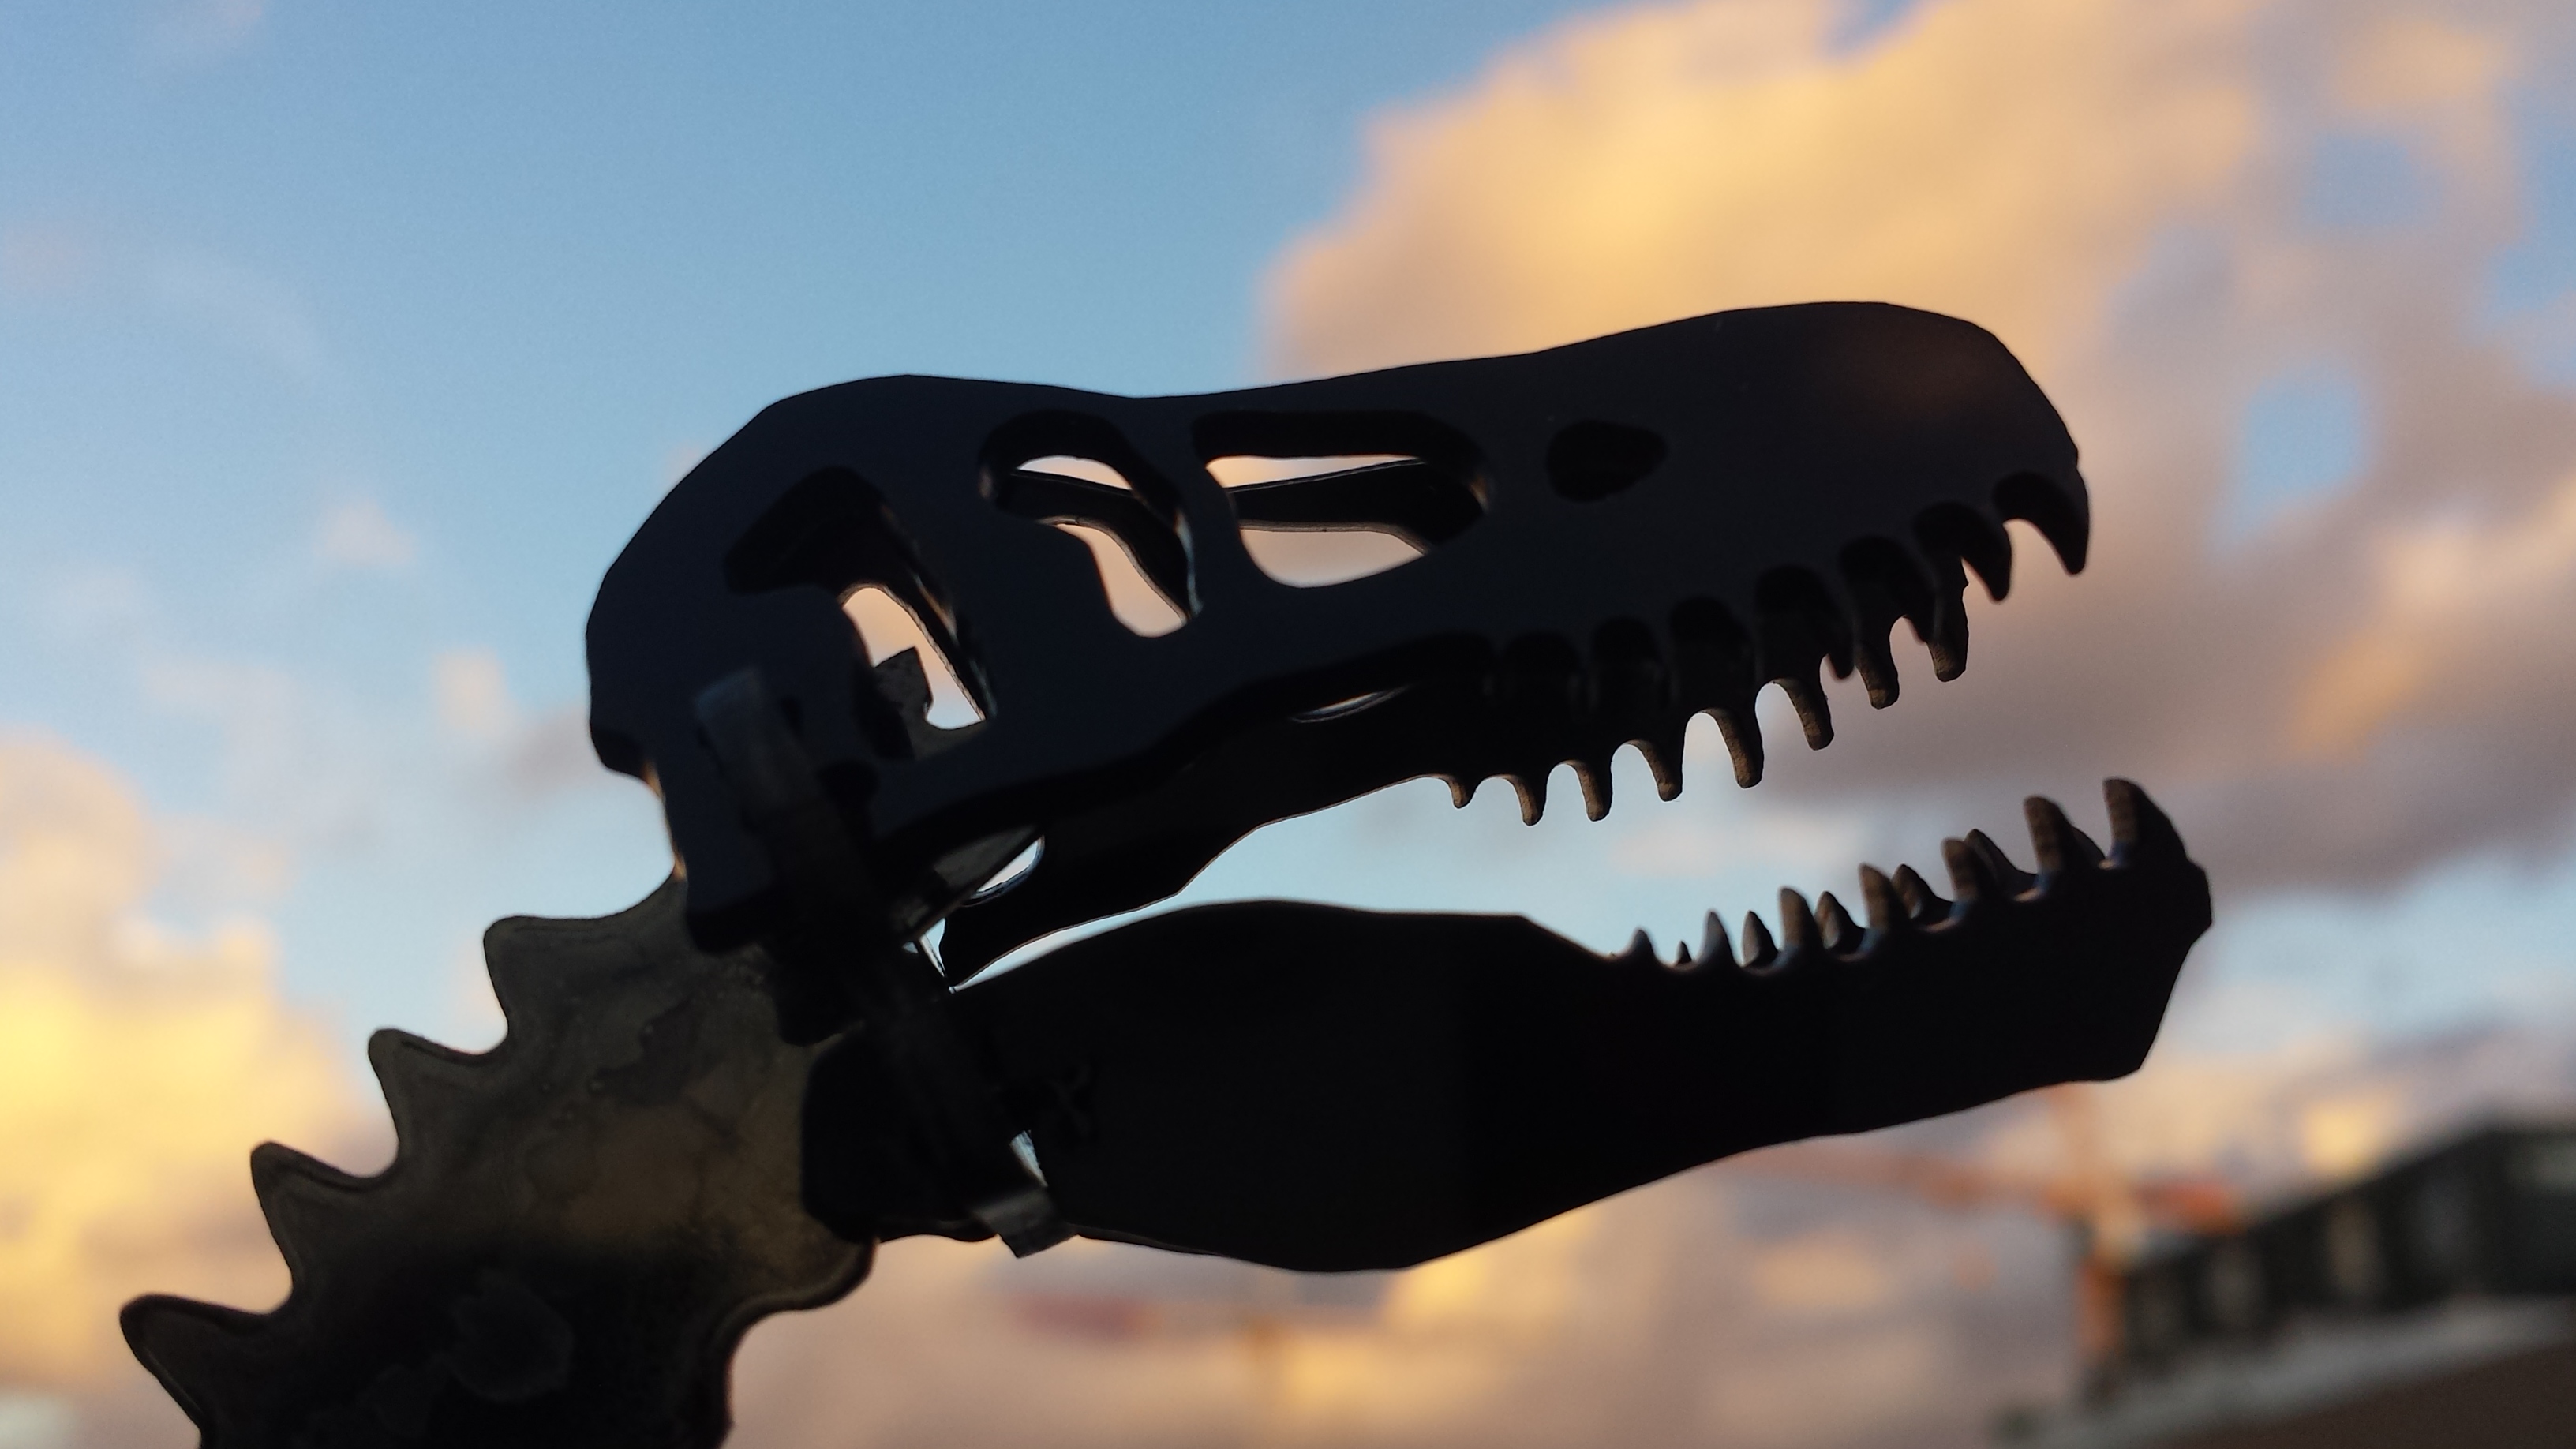
And here is the end result!

Another option you could use for creating the Dinosaur cutouts was take a 3D model & use 123D Make’s slice feature. However, they’ve now canned it & embedded it into Autodesk Fusion 360 as a feature called Slicer (I believe). So you can take any 3D model & turn it into a set of slices (multiple methods) to construct skeletal style models such as this.
Thanks Yuusuf, that’s a great option that I haven’t tried yet!
Plenty of 3D slicers are available. Most are part of 3D printer software. I believe LaserWeb also has a slicer built in.
Thanks HalfNormal, will check out LaserWeb. It has been a while on my list of to do things.
Thanks, great article.