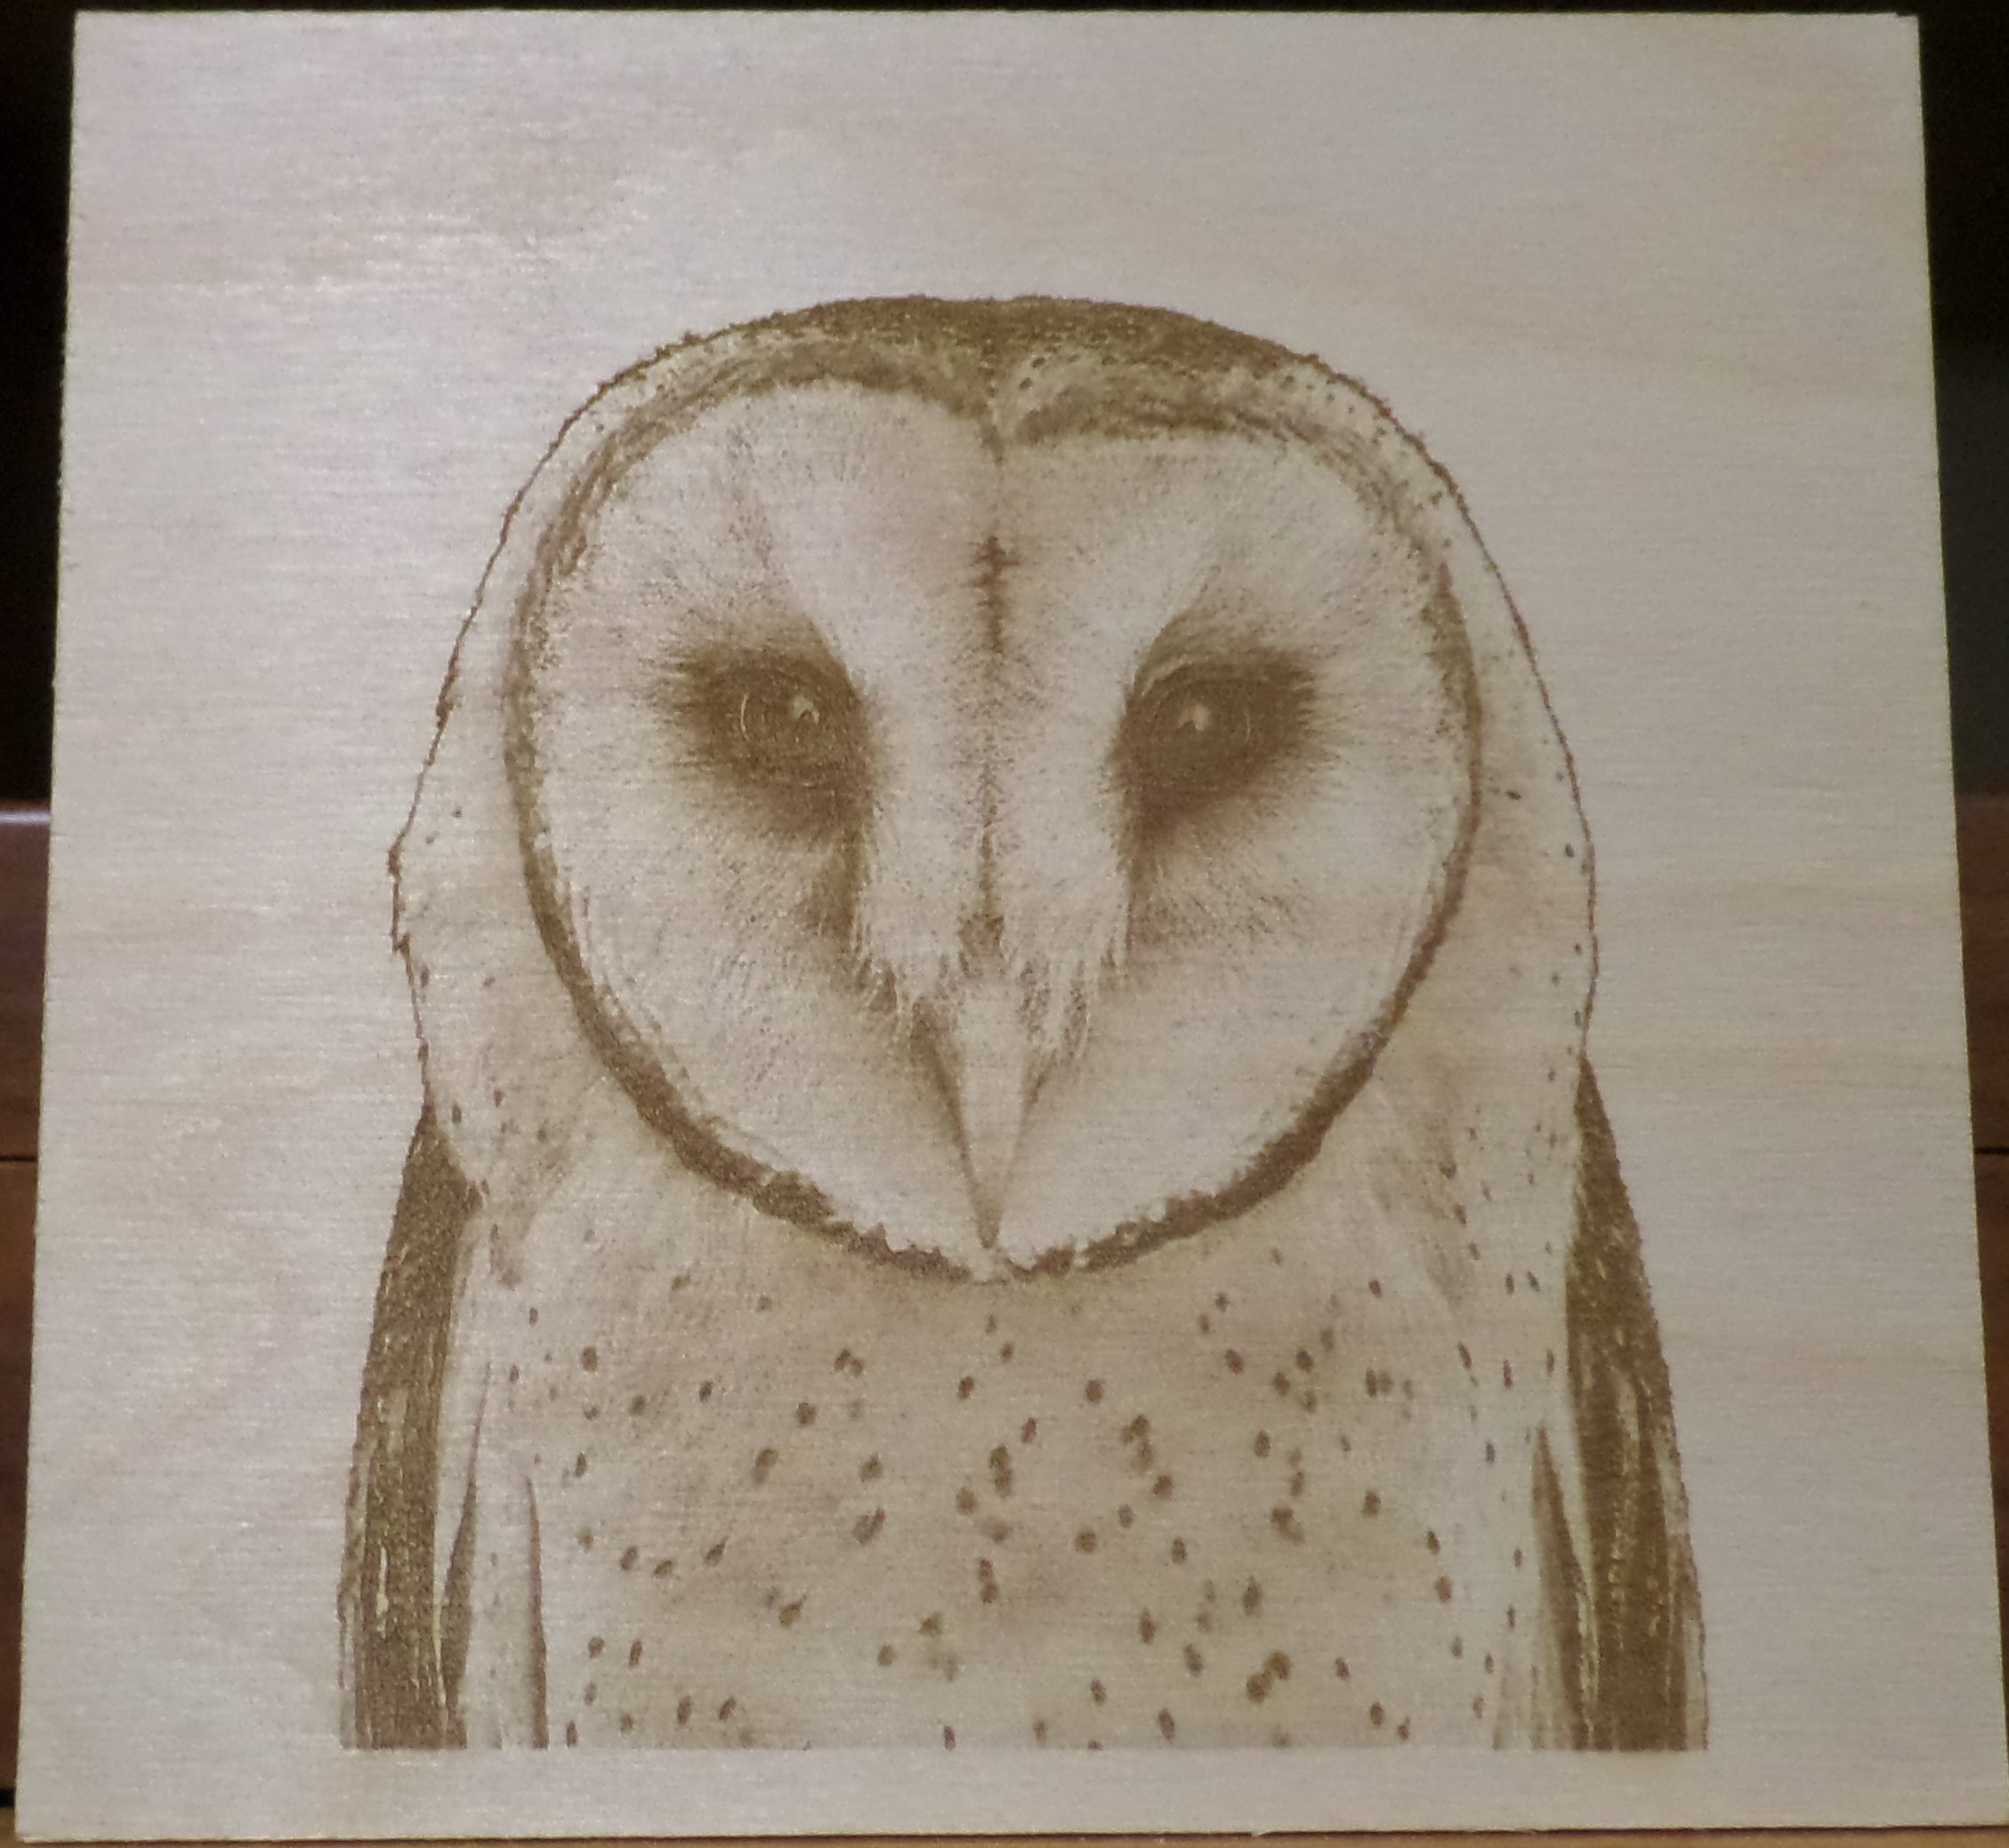
Latest mini gerbil print
Quote from davegalesr on March 11, 2019, 9:15 pmHere is a print dithered in PaintShop Pro using a script from Sean Murray that I found on the Facebook page That Dude With A Lazer at https://www.facebook.com/groups/250911899106529/. PaintShop Pro is on sale for 75.00 US and Sean's script is free if you join That Dude With A Lazer. I have found that this software does a great job with dithered images and I have been able to make great burns of pictures that I have not been able to work with until now. The print was burned with Lightburn using the pass thru option in cuts - you would not get the same quality without pass thru because Lightburn would re-process the image and change the result.
Here is a print dithered in PaintShop Pro using a script from Sean Murray that I found on the Facebook page That Dude With A Lazer at https://www.facebook.com/groups/250911899106529/. PaintShop Pro is on sale for 75.00 US and Sean's script is free if you join That Dude With A Lazer. I have found that this software does a great job with dithered images and I have been able to make great burns of pictures that I have not been able to work with until now. The print was burned with Lightburn using the pass thru option in cuts - you would not get the same quality without pass thru because Lightburn would re-process the image and change the result.
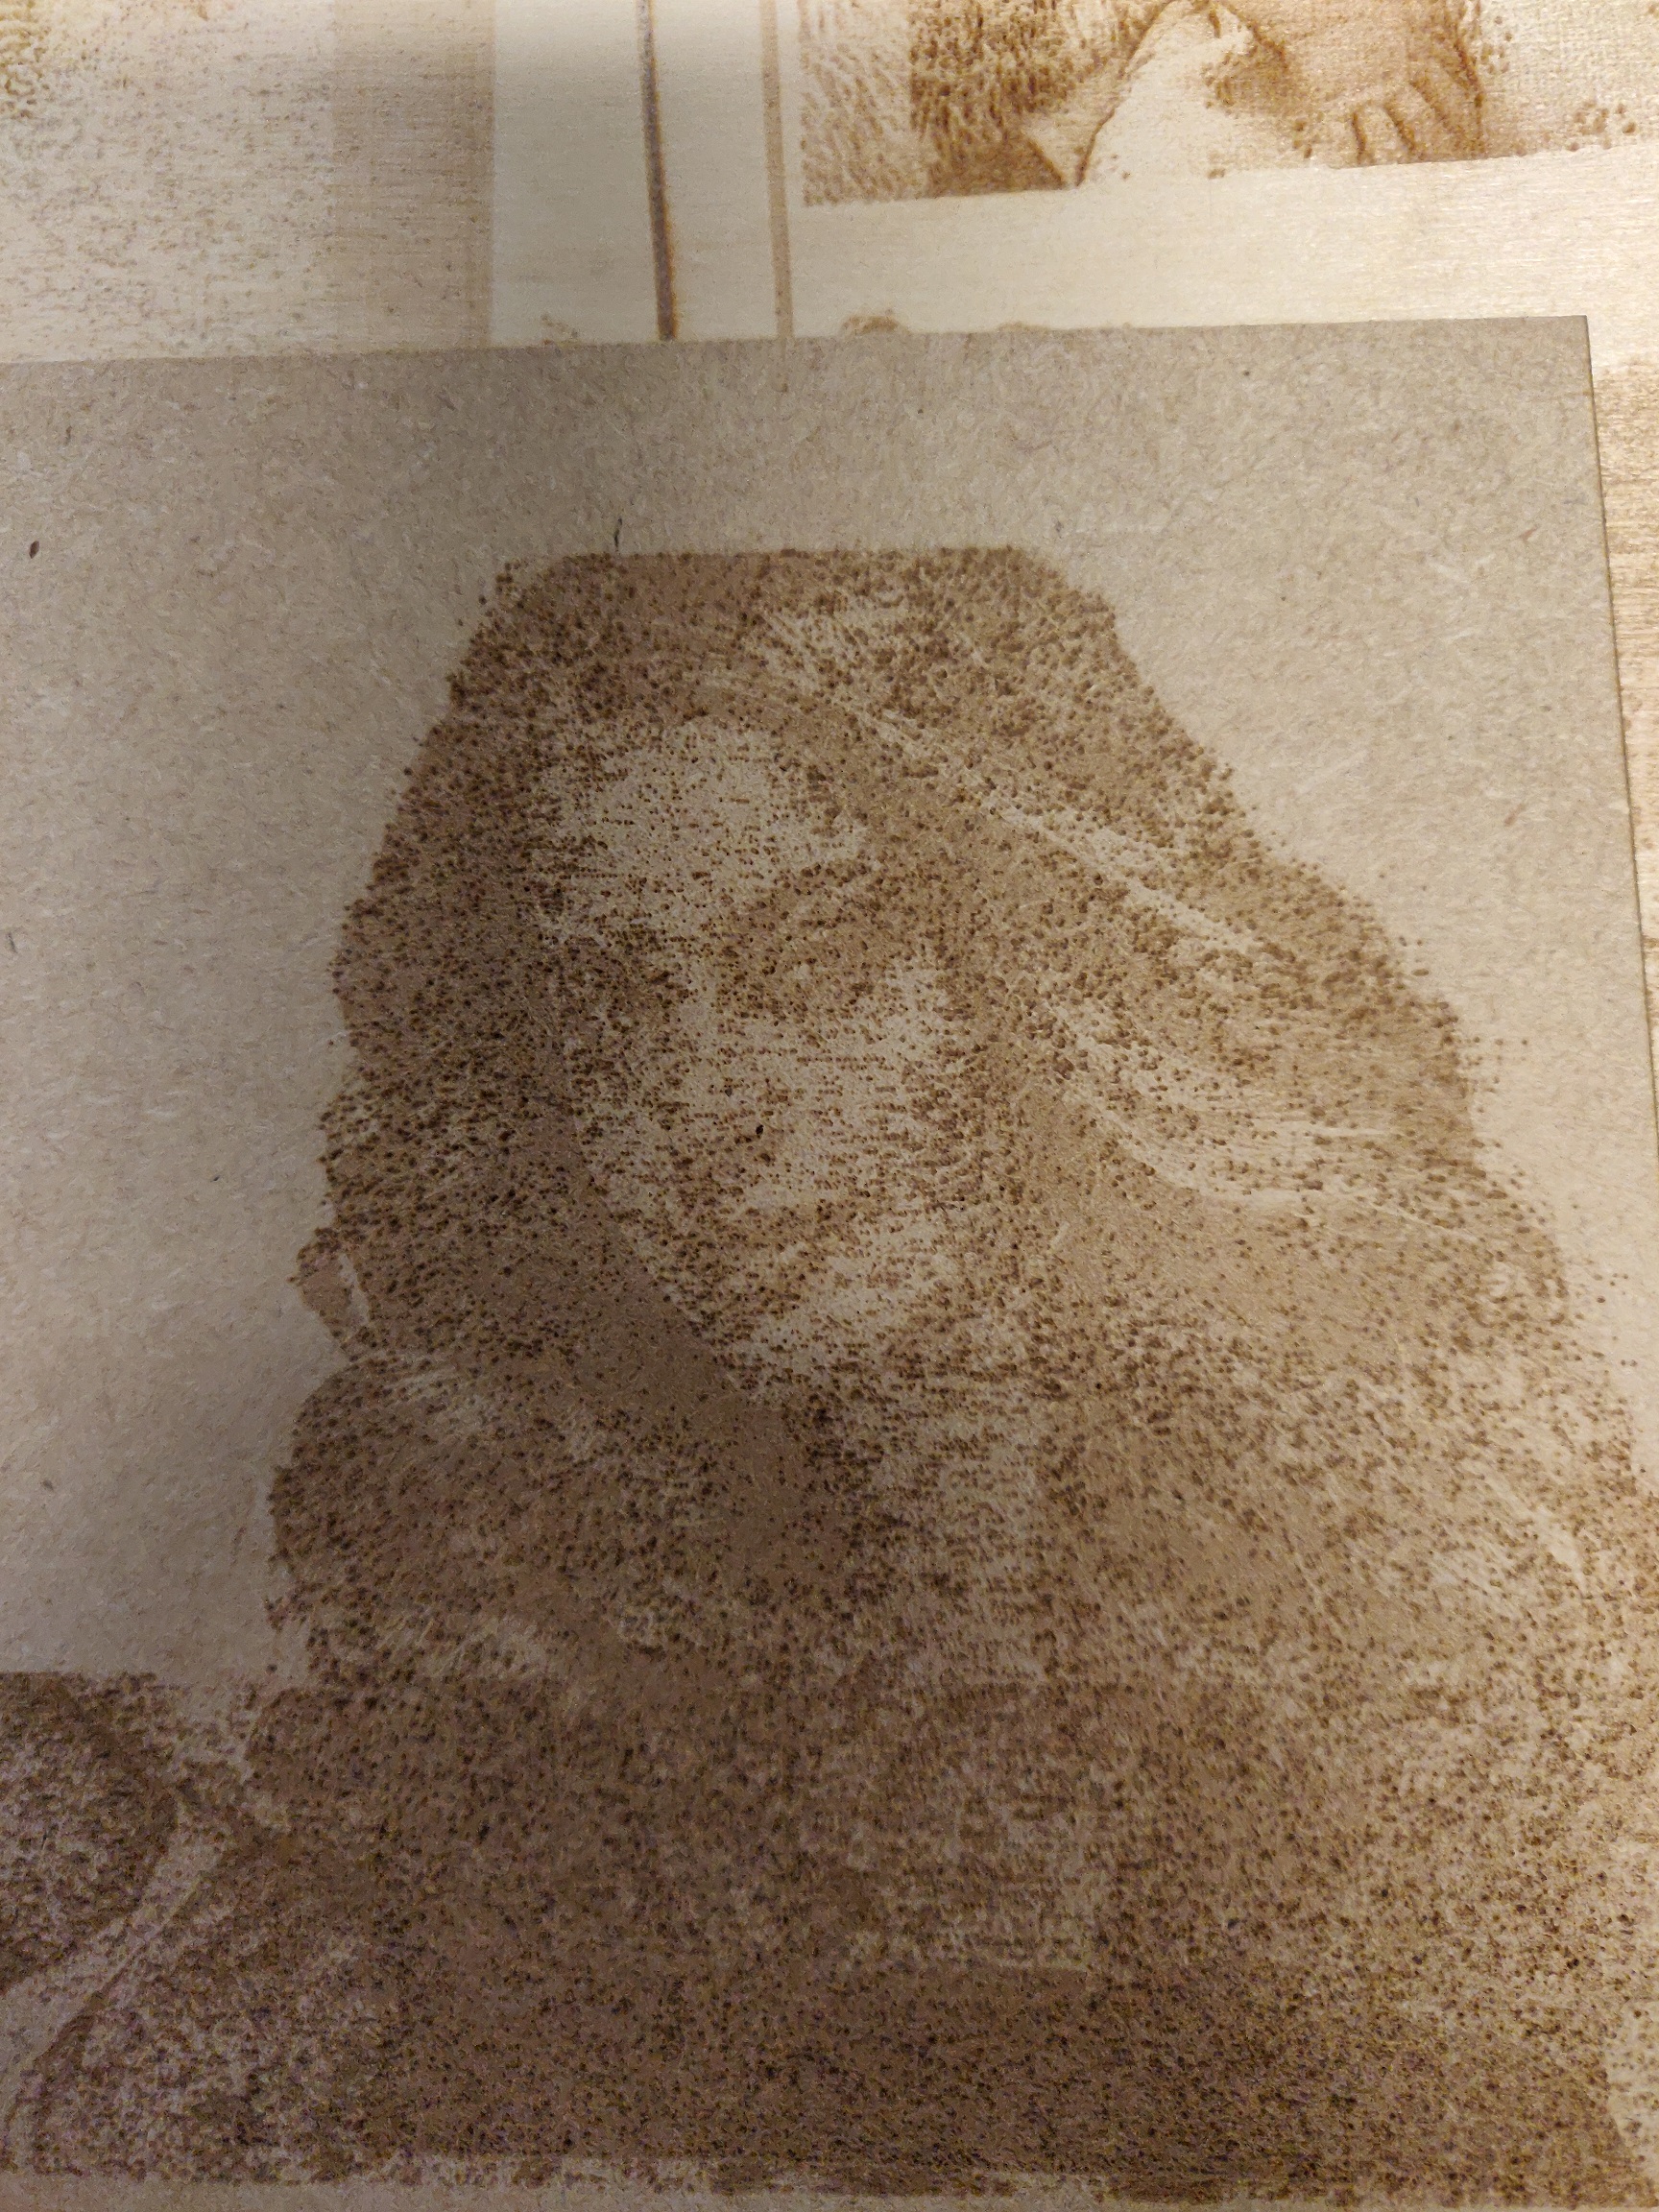
Uploaded files:Quote from Rommel1787 on April 19, 2019, 6:47 ami used this script the other month and got bad results.
Using passthrough the image was terrible but as soon as i switched it to grey scale its looked alot better but i got some abnormalities on the image.
this one same focal point same speed etc but pass through enabled in LB
i used this script the other month and got bad results.
Using passthrough the image was terrible but as soon as i switched it to grey scale its looked alot better but i got some abnormalities on the image.
this one same focal point same speed etc but pass through enabled in LB
Uploaded files:
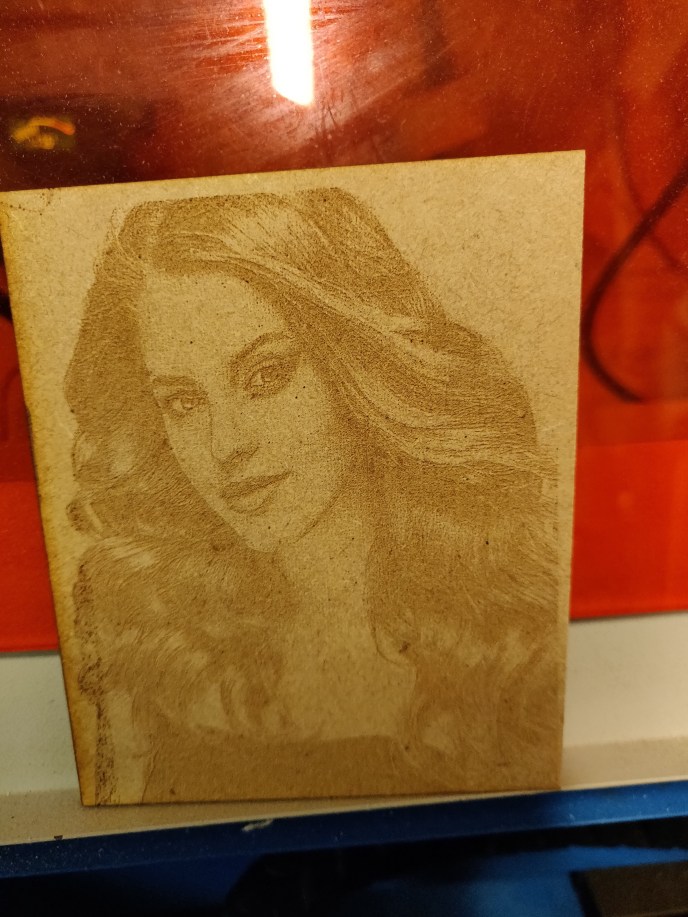
Quote from Rommel1787 on April 19, 2019, 6:48 amthis one exact same image processed with the same script but set to grey scale:
makes no sense but this is how my laser is engraving these images and i cannot find a solution.
this one exact same image processed with the same script but set to grey scale:
makes no sense but this is how my laser is engraving these images and i cannot find a solution.
Uploaded files:
Quote from Paul on April 28, 2019, 7:34 pmYes it can take a bit of experimentation to get some pictures right. Sometimes the original contains noise which you can't see until you engraved it. I suggest to process it with paint.net and apply s ome autocorrect in levels. This reminds me to write a second blog about calibration with a standard picture so you know that the set up works and you have a proper reference point. Keeps updated on your progress and publish your picture so I can replicate the process and see if it is indeed the picture or something else.
Yes it can take a bit of experimentation to get some pictures right. Sometimes the original contains noise which you can't see until you engraved it. I suggest to process it with paint.net and apply s ome autocorrect in levels. This reminds me to write a second blog about calibration with a standard picture so you know that the set up works and you have a proper reference point. Keeps updated on your progress and publish your picture so I can replicate the process and see if it is indeed the picture or something else.


