
Gerbil not controlling Laser Tube
Quote from mariokrupik on January 28, 2018, 5:30 pmI bought a K40 a few Months ago, and before ever using it, I found the Gerbil Project and decided to buy it.
This Week I finally found some time to install it, and worked out the Problems. Y-Axis plugged in the wrong way.
Now tried to do the first engravings, but things don't look good.
I assume that the Gerbil should control the output of the Laser Tube, but this isn't the Case.The Laser Tube is only regulated by the Wheel on the Housing, therefore the Laser is powered all times with same amp, and only the speed of the gantry is faster and slower.
Therefore the Engravings are nowhere like the Examples showed here. What am I missing?
I bought a K40 a few Months ago, and before ever using it, I found the Gerbil Project and decided to buy it.
This Week I finally found some time to install it, and worked out the Problems. Y-Axis plugged in the wrong way.
Now tried to do the first engravings, but things don't look good.
I assume that the Gerbil should control the output of the Laser Tube, but this isn't the Case.
The Laser Tube is only regulated by the Wheel on the Housing, therefore the Laser is powered all times with same amp, and only the speed of the gantry is faster and slower.
Therefore the Engravings are nowhere like the Examples showed here. What am I missing?
Quote from Paul on January 28, 2018, 11:58 pmHi Marcokuprik,
You need to disconnect the potmeter (aka wheel as you call it) from the power supply and connect the pwm pin from the grbl shield to that pwm 'in' port where the potmeter used to connect to. See https://awesometech1.wpengine.com/installing-the-gerbil/
Hi Marcokuprik,
You need to disconnect the potmeter (aka wheel as you call it) from the power supply and connect the pwm pin from the grbl shield to that pwm 'in' port where the potmeter used to connect to. See https://awesometech1.wpengine.com/installing-the-gerbil/
Quote from mariokrupik on January 29, 2018, 7:19 amthanks Paul,
laser switches on / off now, but I still have troubles getting greyscale to work.
the image before.jpg and after.jpg are showing both the image greys.png, but as you can see there are no differences in greyscales.
I used inkscape with the k40 raster plugin, and set the greyscale to 256, and 15pix/mm Travel Speed at 3000. All other settings were left unchanged.
thanks Paul,
laser switches on / off now, but I still have troubles getting greyscale to work.
the image before.jpg and after.jpg are showing both the image greys.png, but as you can see there are no differences in greyscales.
I used inkscape with the k40 raster plugin, and set the greyscale to 256, and 15pix/mm Travel Speed at 3000. All other settings were left unchanged.
Uploaded files: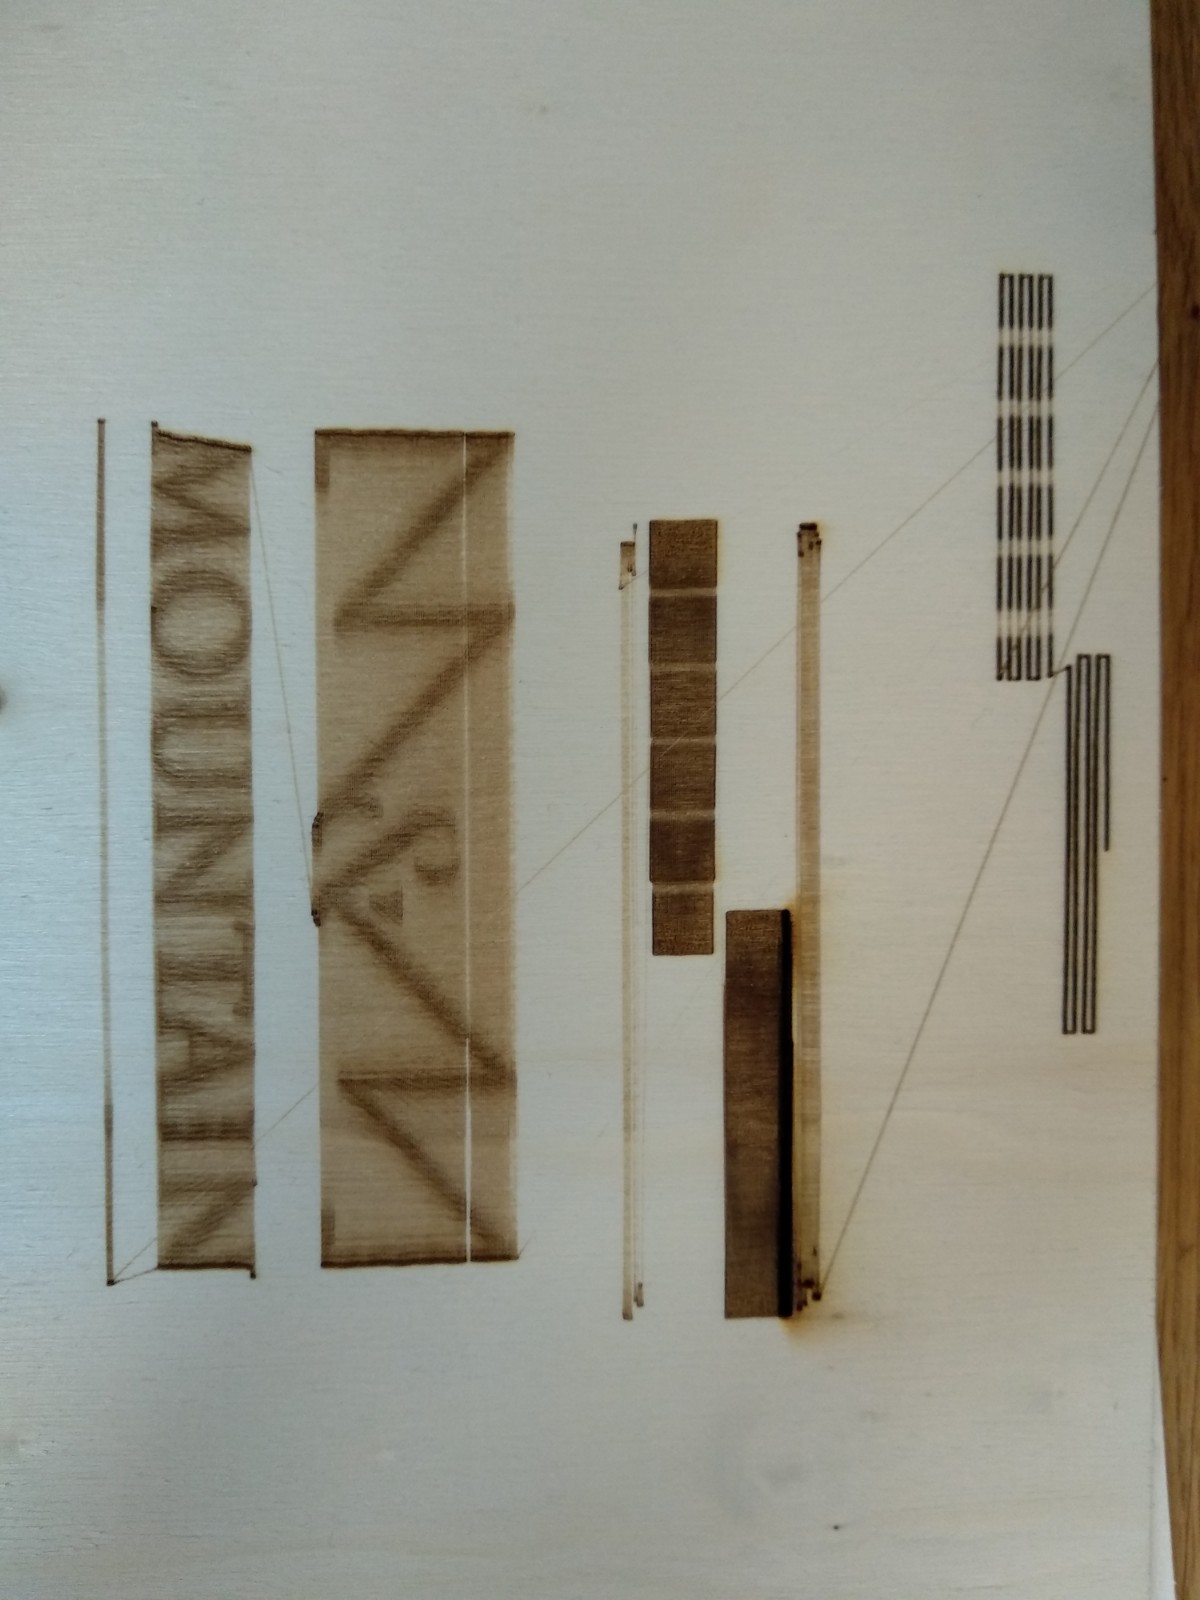

Quote from davegalesr on January 29, 2018, 9:04 amYou should try slowing the speed down to get better greyscale. Try 1000 which works well for most of my prints.
You should try slowing the speed down to get better greyscale. Try 1000 which works well for most of my prints.
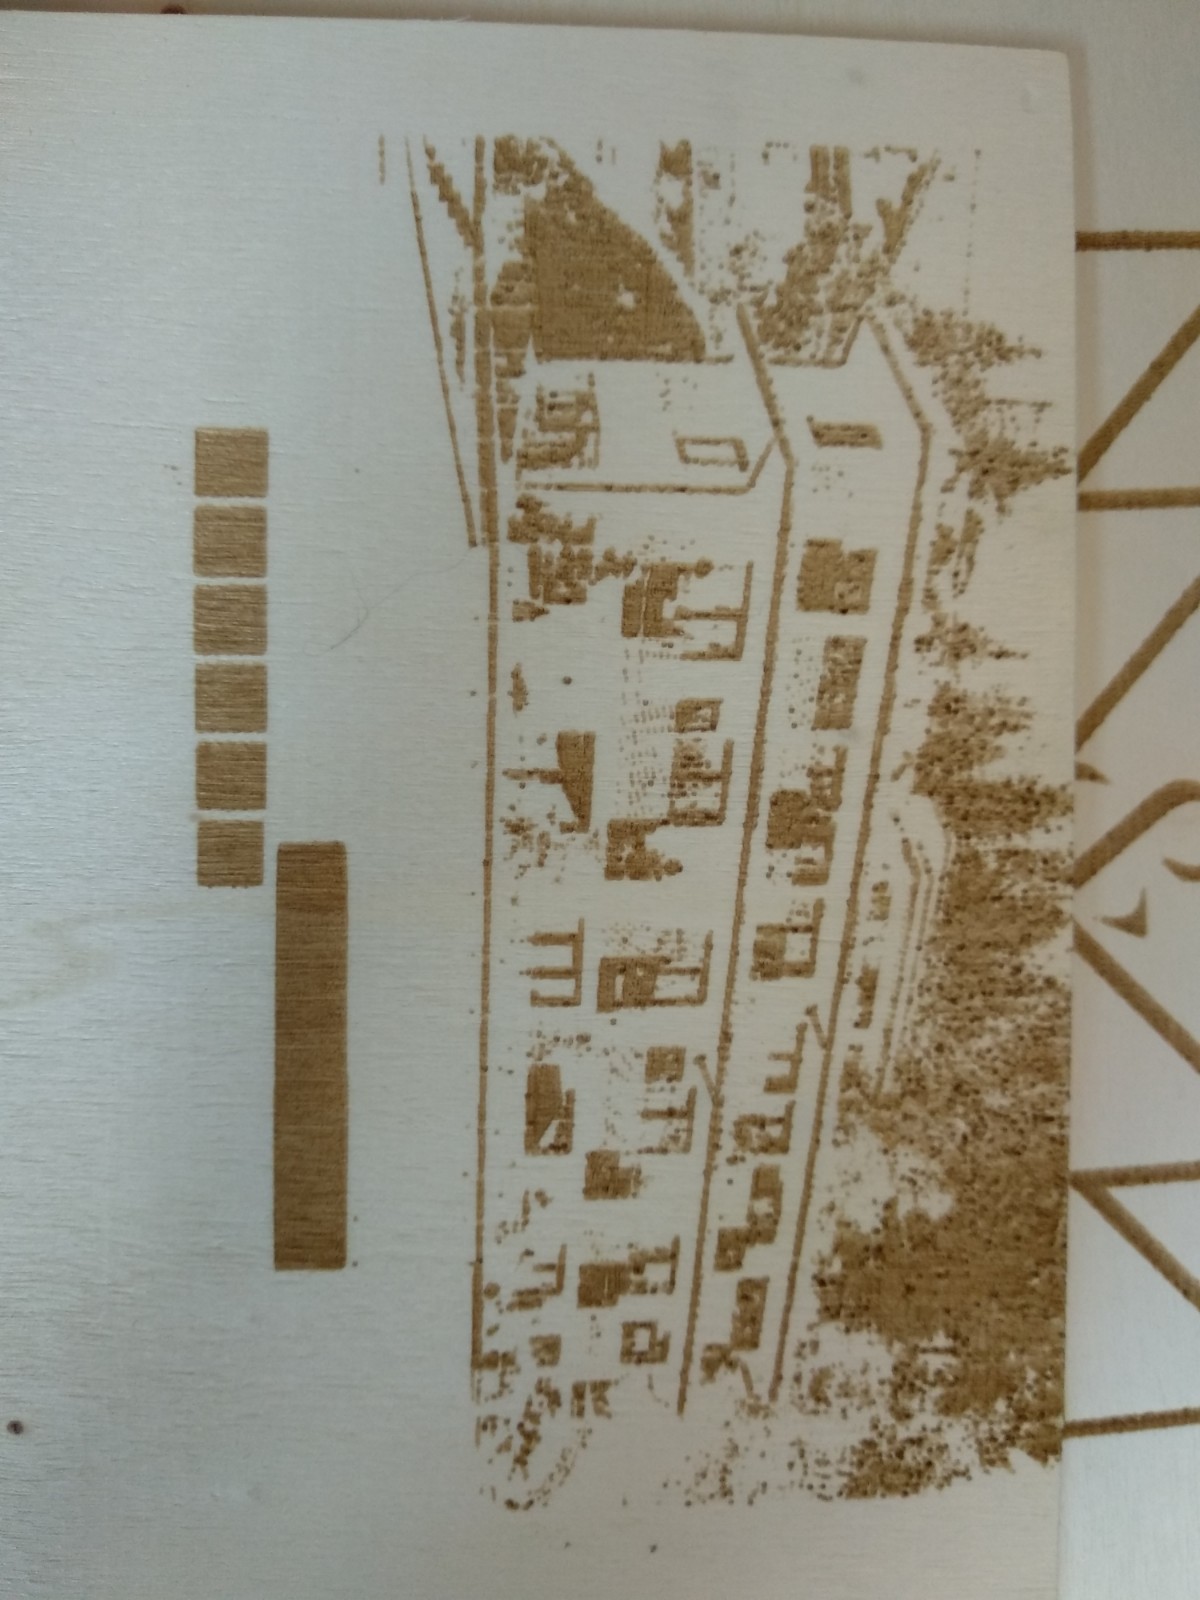
Quote from mariokrupik on January 29, 2018, 9:12 amThere is another Setting in the Plugin which did the Trick.
B/W conversion to grayscale - now it works.
Unforunatly, the Wood I am using always shows the same Color, the Laser just cuts deeper Holes with more amp.
Is there any recommondation on which Woods work best for Pictures?
There is another Setting in the Plugin which did the Trick.
B/W conversion to grayscale - now it works.
Unforunatly, the Wood I am using always shows the same Color, the Laser just cuts deeper Holes with more amp.
Is there any recommondation on which Woods work best for Pictures?
Quote from davegalesr on January 29, 2018, 2:58 pmI use 1/8 inch baltic birch - it is about as clear as necessary to get good prints.
I use 1/8 inch baltic birch - it is about as clear as necessary to get good prints.