The morning started for me at 7am and I was quiet nervous about the challenge. It did not actually take much time to convert and set up the machine, it was about 4 hours in total. What took another 4 hours was the checking, testing, testing, re-confirming, discussing and creating the test tool paths for the 3020. We were just afraid to break the spindle or end mill and I had nightmare visions of the end mill plunging into the bed and get stuck into it forever, prematurely ending our one day build challenge.Our checking and double checking did take some considerable time and were given a few curve balls in the most unexpected areas which teaches me to assume nothing but question everything (but hey, I’m getting used to it now. It’s never straight forward).
In a nutshell:
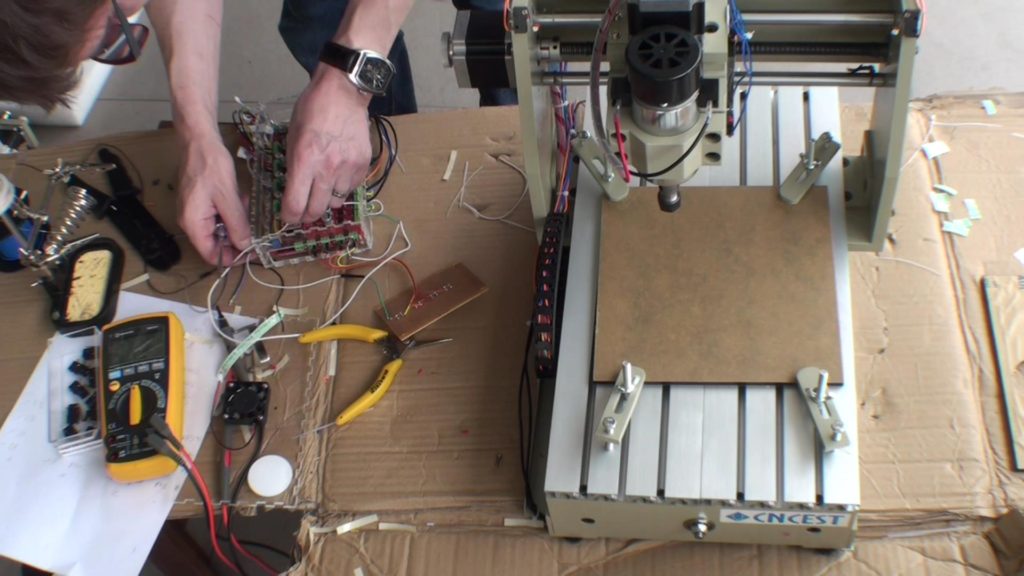
Installing Limit switches
The missing limit switches was the biggest job: find the right places and add some additional blocks to accommodate the limit switch functionality. In the video you see us putting in the switches with some sturdy double sided tape. This was just to make it work. After testing and reliability tests,I will put in some aluminium milled L shapes to get a permanent mounting for switches. Yes, I will use the 3020 for machining these mounting brackets so I learn to use the machine!
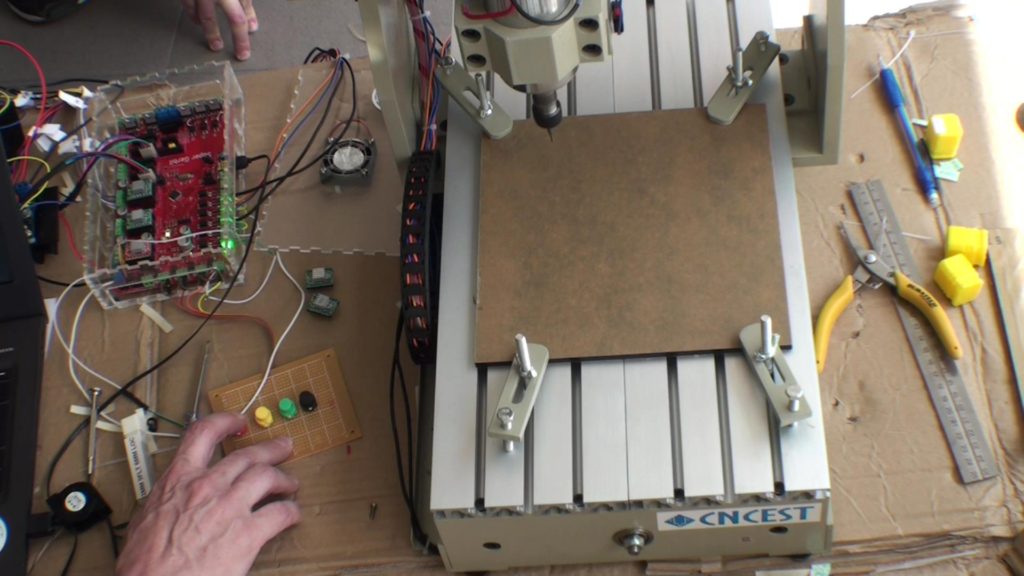
Running the Stepper motors
The other thing that did cause some issues were the huge fiction of the x axis. This will get better over time when the machine is run in and frequently used. The step sticks were set in 1/16th micro stepping (low torque) which we should have set to 1/8th or even 1/4th (high torque) but for time shake I added the external step drivers. The external stepper motor driver took about 1 Amp at 1/4th step resolution so it should not be a problem, we will do another video to demonstrate that. Some posts on Google+ commented on the step sticks being inferior. Technology has come a long way and the on resistance of the MOSFET transistor is in the milli-Ohms so hardly any heat is dissipated hence no huge heat sink is necessary. It’s truly amazing how small these transistors are and how huge the currents are. The on-board DC brushed motor driver can drive up to 17 Amps!
Creating G-Code
The final the biggest hurdle was the software. UGS allows you to edit G-Code but you have to reload the script otherwise it keeps the old script in memory. Something to keep in mind when editing live G-Code scripts. It confused me and Dan and we lost a bit of time on getting to terms with this. Next was my big mistake to use G91 instead of G90, ouch. G91 is incremental positions and G90 is absolute positions. Never rely on your memory and use a G-Code cheat sheet, it would have saved me time. Having a physical emergency stop and pause/resume buttons was a real saver too. You cannot reach fast enough to the computer screen and click a stop button or unplug the power plug.
Me ready to push the emergency button
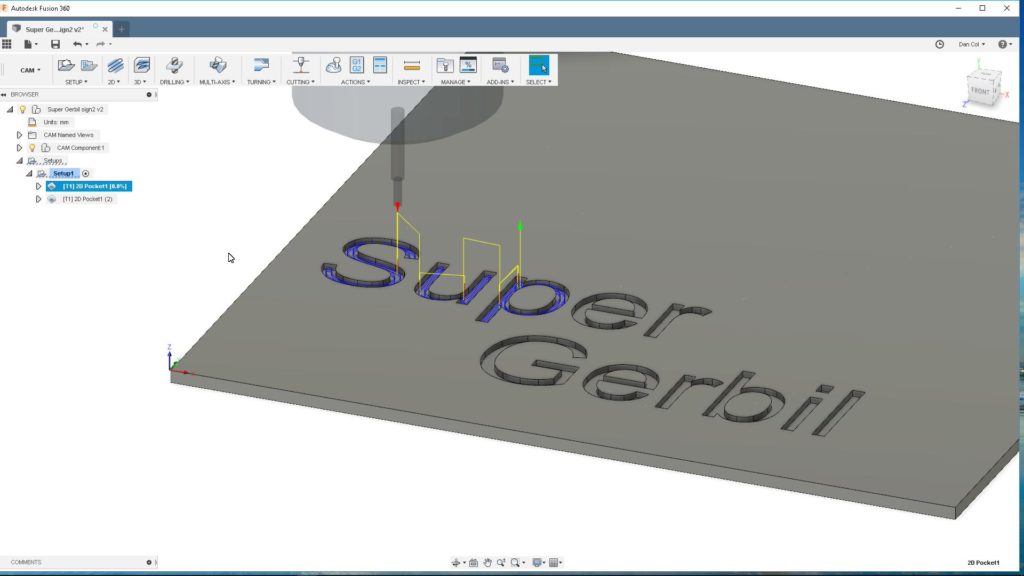
CAM pocket tool path
On the G-Code script side, we used Fusion360 with the CAM pocket tool path where we had selected a helical drop down for the Super Gerbil carving G-code instead of a plunge drop down which confused us a bit because we saw the spindle air dancing. If we had waited a bit and observed the dance, we would have realised that it was a helical drop down. We assumed that the Z-axis was offset and even doubted the firmware… “Paul, did you change the firmware…?“. After watching a few YouTube videos online, we realised what was going on and we fixed it in Fusion360 and generated a new G-code script.
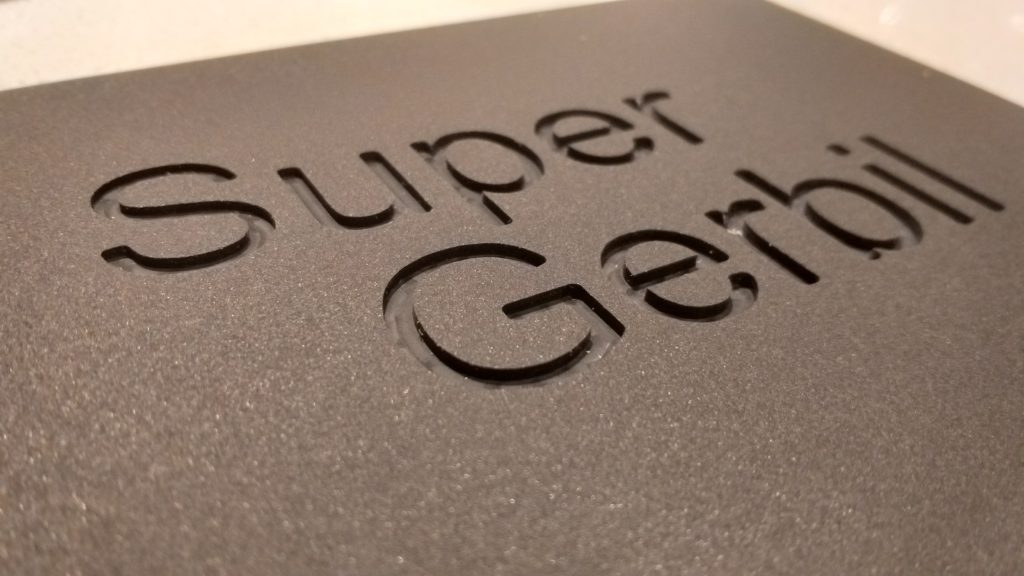
Success
After that it was all smooth sailing and the crisp carving of Super Gerbil made my wife think we bought the plaque for our online business…how cool!