
While Paul was focussing on desigining and delivering the Super Gerbil CNC kickstarter project, I was helping with the testing. Rather than using simple test shapes, I tackled something a little more complex to help avoid boredom ! The result was a toy truck as a beginner’s CNC project. Actually, being made from acrylic, it’s really a model truck, because it’s too brittle for a child’s toy. Yes, it’s delightfully out of proportion… I really just sat down at Fusion 360 without any planning or reference, and ended up with a caricature of an old style truck.
Truck structure
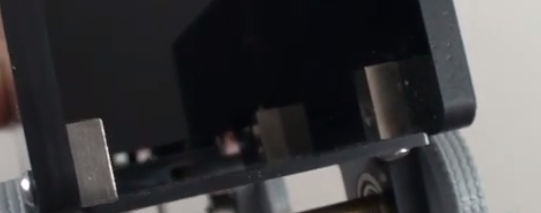
I thought through different ways of connecting the panels at right angles. Most of the joints are tongue-in-groove, but this alone wouldn’t make a stable structure. I discovered parvum blocks, but ended up using stand-offs as a cost effective alternative. Finding and using them was the single biggest learning from the project – I’ll definitely use them again as they’re fast, easy and rock-solid.
Wheels and steering
Paul found the wheel design online, and I designed the steering assembly. Yes, it’s simple and far from perfect, but I had fun doing it. Next time I’d design larger wheel arches, so the moving wheels have a greater range of motion.

Workholding
As usual, work holding is a non-trivial part of the project… I used both custom jigs and double sided tape.

Starting with a rectangle of acrylic, my sequence for profile machining was:
- Mill the small hole in the middle of the two workholding jig circles. Now screw down the workpiece using screws through these holes
- Bore out all the small holes for connecting to stand-offs
- Mill the seven slots as pockets
- Mill the outside contour of the profile, then clamp the whole workpiece from the outside of the milled profile
- Contour the inner window shape
- Remove the shallow surface needed to accommodate the bearing flange using a pocket
- Remove the remaining material to accommodate the rest of the bearing, again using a pocket
Other learnings
Combining 3d printing and CNC worked well. The fine detail of the wheel tread was 3d printed without a fuss, which was lucky because I revised the wheel size. This would have been a lot of work on the mill.
In future, if I want to get a realistic looking model, I’ll look up real-world objects and pay more attention to realistic proportions.
What’s next ?
This simple model is really just the beginning, as it only demonstrates 3 axis movement driven from the Super Gerbil CNC controller. Rather than beginner’s CNC project, future projects will include 4 and 5 axis control. If you’d like to buy a Super Gerbil CNC controller for your CNC project, they’re for sale at awesome.tech
Just enough details for you to try yourself…
Parts and material
- 2,3 and 6mm acrylic
- 6mm flanged bearings (4 OFF)
- 6mm brass rod
- 6mm (or 1/4″) collars (2 OFF)
- 3mm hex head screws Stand offs (10 OFF)
- Double sided tape (for workholding)
Tools
- 3D printer
- CNC machine Super Gerbil CNC controller
- Fusion 360
- acrylic scoring knife
- calipers and ruler
Feeds and speeds (conservative)
For detail:
- 1.6mm 2FL endmill @10000 RPM, ramp 100mm/min, plunge 75mm/min, DOC=0.35mm
- 1.6mm 2FL ball endmill @10000 RPM, ramp 100mm/min, plunge 75mm/min, stepover=0.3mm
- 2mm 3FL endmill @ 8000 RPM, ramp 75mm/min, plunge 75 mm/min, DOC = 0.25mm
For bulk removal:
- 3mm 3FL endmill @ 10000 RPM, ramp 300mm/min, plunge 75 mm/min, DOC=0.35mm