
K40 laser cases are where it’s at. Imagine a sweet new home for your widget that looks great and has cost you almost nothing. So if you’re asking “How can I make my own custom case using my K40 laser ?” we’ll cover the design options and resources to get you started.
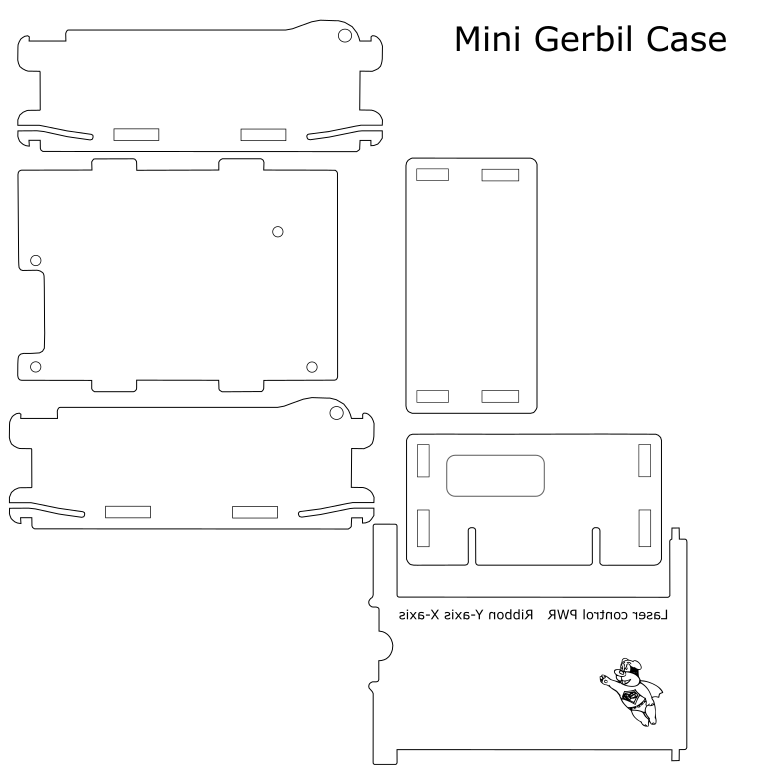
Our journey in making k40 laser cases started when we needed a case for our Super Gerbil CNC controller on Kickstarter. We needed a case that could be easily flat packed for shipping, and assembled by anyone without screws or glue. Doesn’t sound complicated, but proved more difficult than expected. Here are the options we came up with:
Tabbed or Slotted design

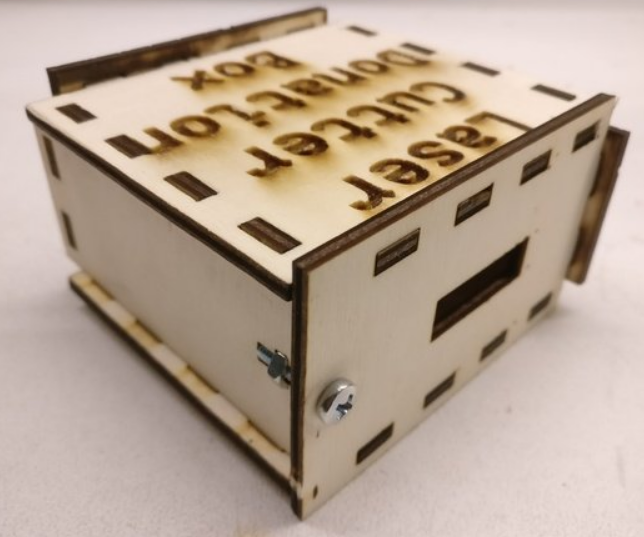
Firstly, tabbed or slotted designs for making k40 laser cases are fairly simple and most online generators will produce such designs. The disadvantage is that you need to glue or screw the sides of the box together. A plywood design works well but acrylic becomes messy.
Click-n-Clack design

Second is the click-n-clack design, which don’t require any screws or glue to put together and you can easily disassemble them.
This design relies on the material to flex, so you can push a tab through a slot, and the tab springs back to hold the parts together. This requires a long narrow slot of a certain width. Too narrow and the flex is too little to keep the part in place. Too wide causes the part to break on insertion of the squeezed tab.
Living hinge design
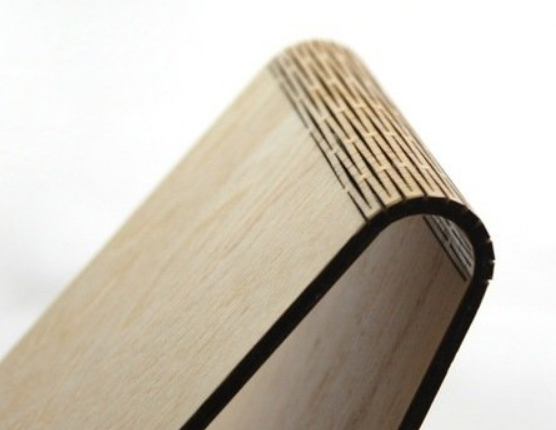
Third are living hinge designs, which can flexibly bend around corners. This works for wood as well as acrylic. The design cleverly removes many small slivers, which allows the material to flex around a corner without breaking. You can apply the pattern from thingiverse designs, or use a hinge generator in Inkscape: https://inkscape.org/~drphonon/%E2%98%85living-hinge-creator
And the winner is…
We chose a click-n-clack design because it met our requirements.
Online case generators
Below we have listed a few online generators that you can use to generate a box. They are all easy but basic and for more features you need to use CAD software. A standard generated box can be a starting point for you. You can import this basic design into a CAD or vector software package to enhance it further to meet your requirements.
MakerCase: http://www.makercase.com/
BoxDesigner: https://boxdesigner.connectionlab.org/
Festi.info: https://www.festi.info/boxes.py/
Inkscape: https://inkscape.org/gallery/=extension/?page=1&
Vector software
SketchUp: https://www.sketchup.com/plans-and-pricing/sketchup-free
SolidWorks: https://www.solidworks.com/
Illustrator: https://www.adobe.com/au/products/illustrator/free-trial-download.html
Onshape: https://www.onshape.com/
Multiple vector nesting: https://svgnest.com/
What I mean here is software that can layout the design vectors in the work area so you minimise the amount of lost material.
Good design resources
Thingiverse: https://www.thingiverse.com
Open Designs: https://obrary.com/collections/open-designs
CAD software to create a K40 laser case
Fusion360:
Fusion360 has a design feature to create boxes for a laser and it generates the G-code as well (use the GRBL post processor). It is fairly simple but you need Fusion360 experience to understand the tool chain.
TinkerCAD:
TinkerCAD allows you to export vector shapes (.SVG) which you can import into Inkscape so it can work as a smart format converter.
Inkscape:
You can import a vector design of a K40 case into Inkscape. Or if you happen to have just a picture then import the picture and use the trace bitmap feature to generate the vectors. Often this generates two outline, just delete the inner or outer line. Alternatively you can use the pencil line tool to draw vector lines over the image and delete the image afterwards (or put the image on a different layer).
Box Maker inkscape py: https://github.com/Neon22/inkscape-LasercutBox
Tabbed Box inkscape py: https://github.com/paulh-rnd/TabbedBoxMaker
Things to avoid
A 40 Watt K40 can cut up to 8-12 mm depending on the CO2 tube’s condition and the type / colour of Acrylic.
Single pass vs multiple passes. This seems to be a case of various opinions and experiences. I tend to go with lower power (e.g. 3 mm Acrylic, 4 passes at 5 mA) since it leaves less cutting residue on the edges of the acrylic.
Fumes can be bad so use a good fan extraction to vents into the outdoors.
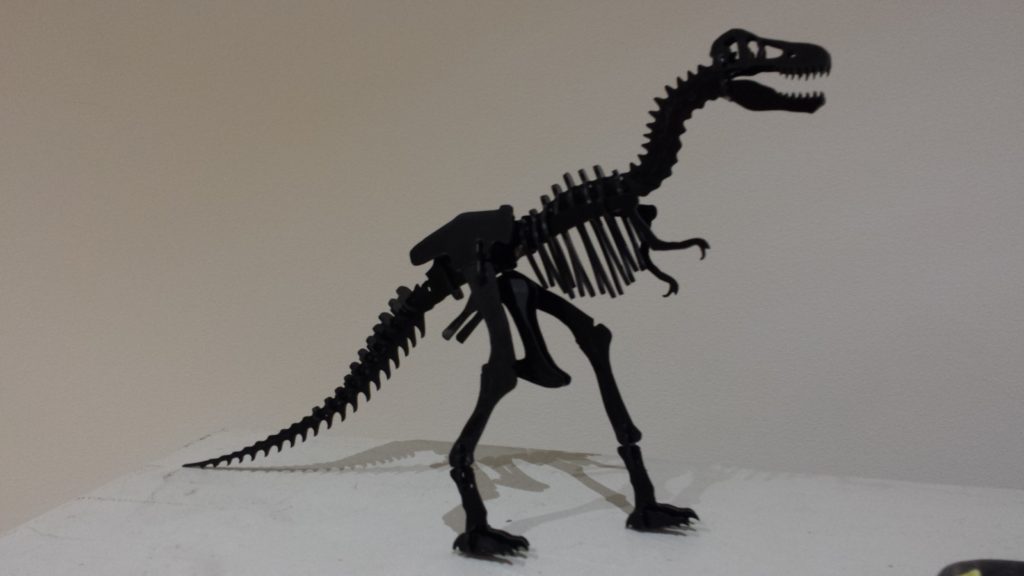
Also check our Blog for creating a Dinosaur 3D puzzle here: https://awesome.tech/the-kerf-making-a-dinosaur-3-d-puzzle/
About the author
Paul de Groot is Australia’s K40 laser expert and has developed a number of successful products for the international K40 laser community. Check out his Mini Gerbil laser controller (2 axis) and Super Gerbil CNC controller (3-5 axis).
Well I order a mini Gerbl today. Still searching for the specification showing the dimensions.
Thanks Hugh, the dimension of the MG are 95 x 64 x 36 mm